How to Make Timelapse Video: A Comprehensive Guide for Photographers
If you’re passionate about photography and looking to enhance your skills, learning how to make timelapse video is a brilliant way to not only showcase your creativity but also to attract clients in various fields, especially within the realms of real estate and professional photography services.
Understanding Timelapse Photography
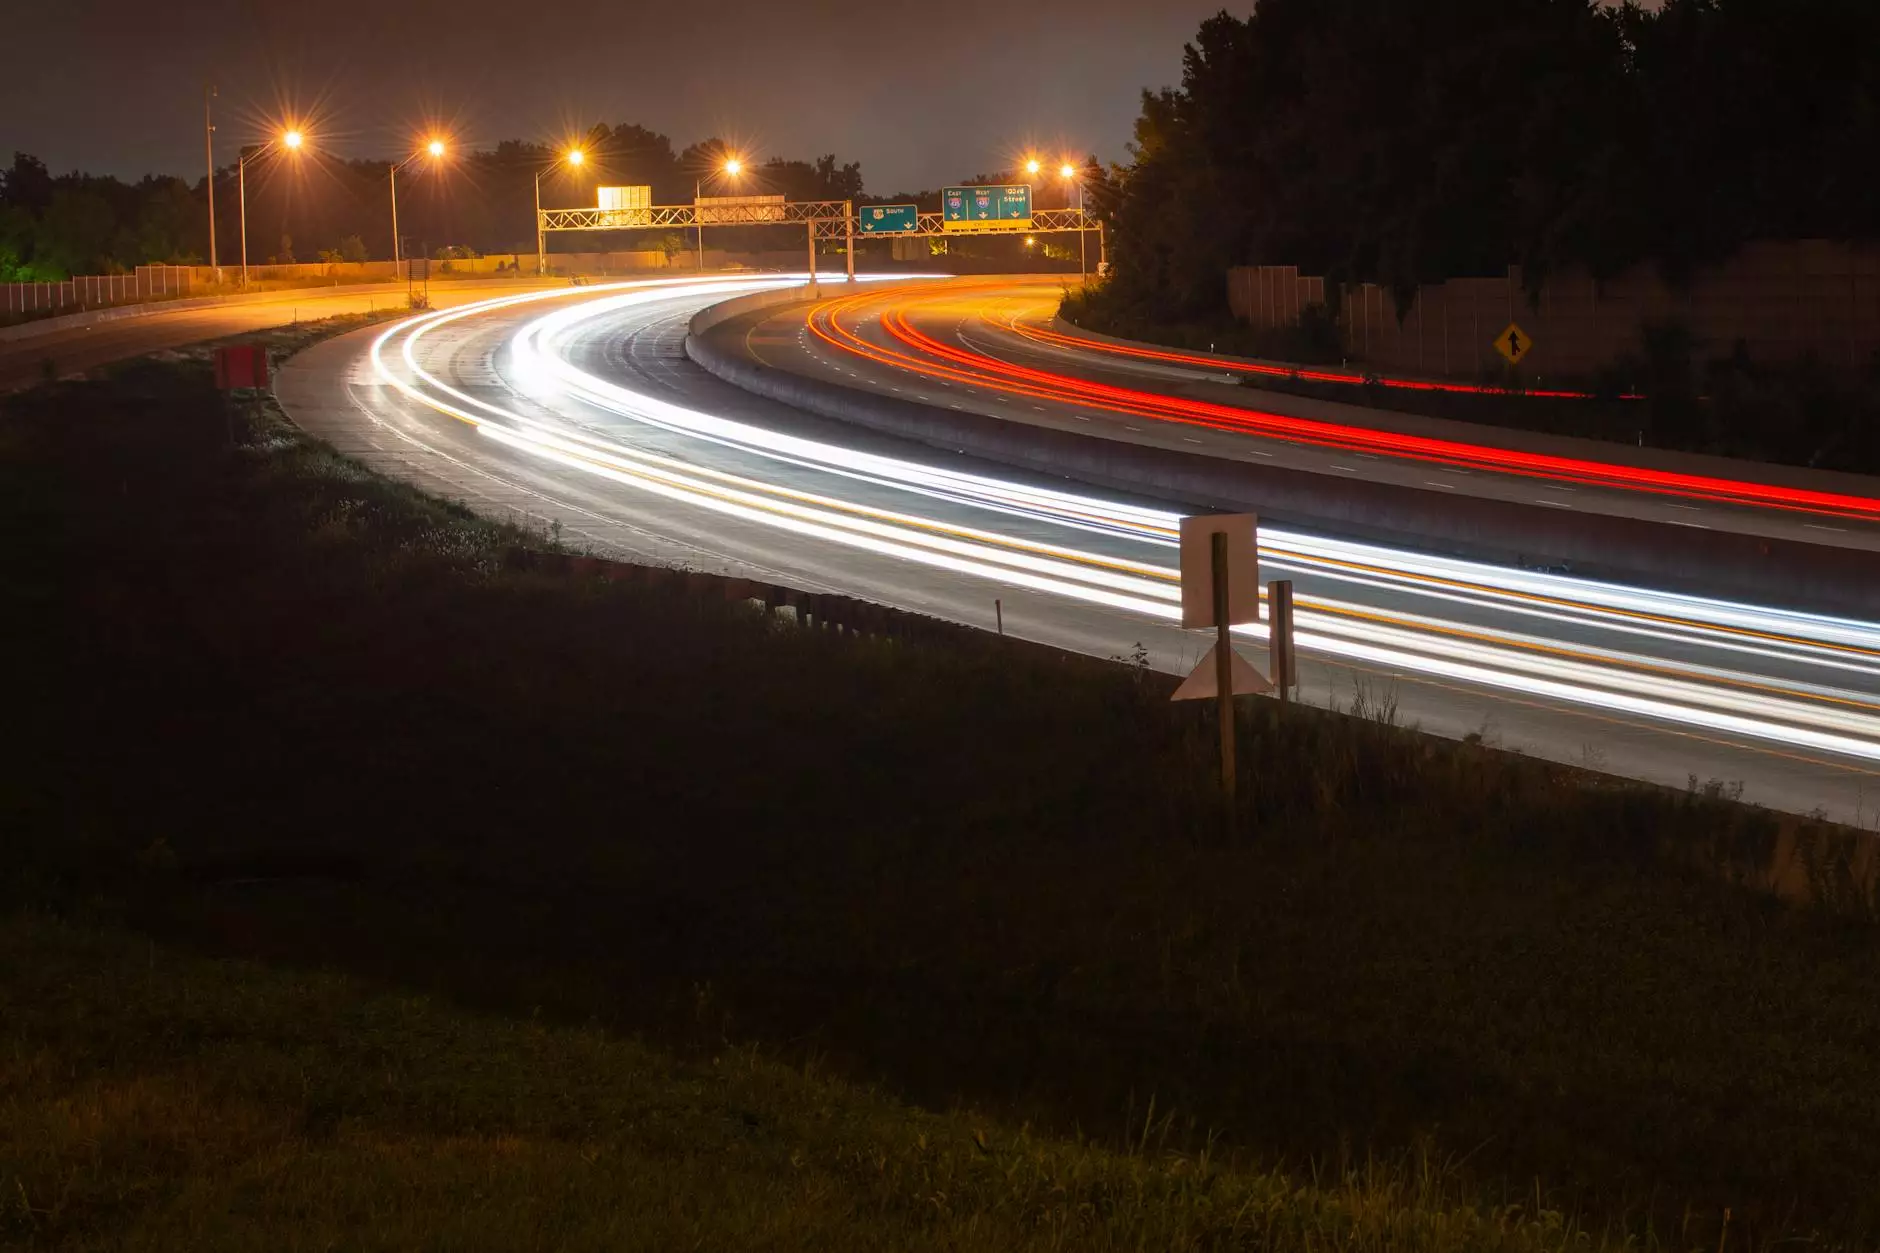
Timelapse photography is a unique form of photography that captures changes over time. By taking a series of photos at set intervals, you can create an enchanting video that shows transformation in a compelling way. This technique is particularly popular in real estate photography, allowing potential buyers to see properties in a new light.
Why Create Timelapse Videos?
There are countless reasons to create timelapse videos. Here are some of the notable benefits:
- Captivating Visual Storytelling: Timelapse can convey a narrative that traditional videos often miss, providing viewers with an engaging perspective.
- Highlighting Changes: Whether you want to show a bustling cityscape or the transformation of a home during renovations, timelapse effectively highlights these changes.
- Enhanced Aesthetic Appeal: Timelapse adds artistry to your video work, making it visually appealing and more likely to share on social media platforms.
- Increased Engagement: With the rise of video content, having unique offerings such as timelapse can attract and retain viewers on your portfolio or website.
Essential Gear for Timelapse Photography
Before diving into the steps on how to make timelapse video, it's essential to have the right equipment. Here's a list of tools you'll need:
- Camera: A DSLR or mirrorless camera is preferred for high-quality images. Ensure it has manual settings for consistent exposure throughout the shoot.
- Tripod: Stability is crucial. A sturdy tripod will prevent any camera movement that could distort your timelapse.
- Intervalometer: This device allows you to set the intervals between shots automatically, which is essential for a smooth timelapse.
- Lens: Depending on your subject, a wide-angle lens is often recommended for capturing landscapes or interiors effectively.
- Editing Software: Software like Adobe Premiere Pro, After Effects, or specialized timelapse software for assembling your images into a video.
Steps to Make a Timelapse Video
Now that you are equipped with knowledge and gear, it’s time to delve into the step-by-step process of how to make timelapse video.
Step 1: Planning Your Shoot
Before stepping out with your camera, decide on the story you want to tell through your timelapse. Here are some questions to guide your planning:
- What subject will you film? (sky, city, building, etc.)
- How long do you want the final video to be? This will influence your interval settings.
- What time of day will be best for lighting and atmosphere?
Step 2: Setting Up Your Camera
Once you’re at the shooting location, set up your camera on the tripod. Ensure it is stable and at a good angle. Here's how to proceed:
- Switch your camera to Manual mode. This ensures consistent exposure throughout the filming process.
- Set your aperture, shutter speed, and ISO based on the lighting conditions. A good rule of thumb is to use a lower ISO for outdoor shots to prevent noise.
- Adjust your focus manually to ensure it remains consistent.
Step 3: Using the Intervalometer
Connect your intervalometer and set it to take pictures at your desired intervals. This can range from 1 second to several minutes, depending on the speed of change in your scene:
- For fast-moving subjects like clouds or traffic, shorter intervals (1-5 seconds) are ideal.
- For slower processes, like the growing of plants or the unfolding of flowers, longer intervals (5-30 seconds) work well.
Step 4: Shooting Your Timelapse
Start your intervalometer and let your camera do its job. Patience is vital in this step as you may need to let it run for several hours to capture the desired changes.
Step 5: Import and Edit Your Photos
After shooting, import your images into your editing software. Here are common editing techniques to polish your timelapse:
- Import Sequence: Most software allows you to import a sequence of images, creating a video file easily.
- Adjust Frame Rate: Set the frame rate to your desired speed, often between 24-30 frames per second.
- Color Correction: Enhance your images by correcting exposure and color balance. This step elevates the overall quality of your timelapse.
- Add Music or Voice Over: To make the timelapse more engaging, consider adding an appropriate soundtrack or commentary.
Tips for Creating Stunning Timelapse Videos
Creating fascinating timelapse videos takes practice, but the following tips can help elevate your work:
- Experiment with Angles: Try different angles and heights to find the best perspective for your subject.
- Consider Weather Conditions: Weather can drastically change the outcome. Check forecasts and choose a time that complements your vision.
- Be Mindful of Movement: If your subject is static, make sure nothing moves into the frame that could distract viewers.
- Use Manual Focus: Autofocus can often introduce unwanted shifts in focus during the shoot, leading to distractions in the final product.
- Practice Patience: The best results come from thorough planning and patience, especially when capturing lengthy processes.
Conclusion
Learning how to make timelapse video not only enhances your skills as a photographer but also expands your offerings as a service provider. Whether you are working in real estate photography or starting a new creative project, timelapse videos are a versatile and innovative way to present your work. As you practice and refine your techniques, you will find new ways to capture the world around you, engaging your audience and standing out in a competitive market like BonoMotion. Remember, the key to success is not just in taking the photos but in crafting a narrative that resonates with your viewers. Happy shooting!